Raspberry Pi
To write the system image to your Raspberry Pi memory card, use the balenaEtcher program.
Preparation
Install balenaEtcher: download the version compatible with your operating system from the official website, install it, and launch the application.
Download the latest system image for the Raspberry Pi 5.
Connect the memory card: insert your microSD card into your computer using a card reader. Ensure your operating system has successfully recognized the card before proceeding.
Warning
Writing the image will erase all data on the selected drive. Ensure you have backed up any necessary files and double-check that you have selected the correct memory card to avoid accidental data loss.
Flashing the Image
In the main balenaEtcher window, click
Flash from file.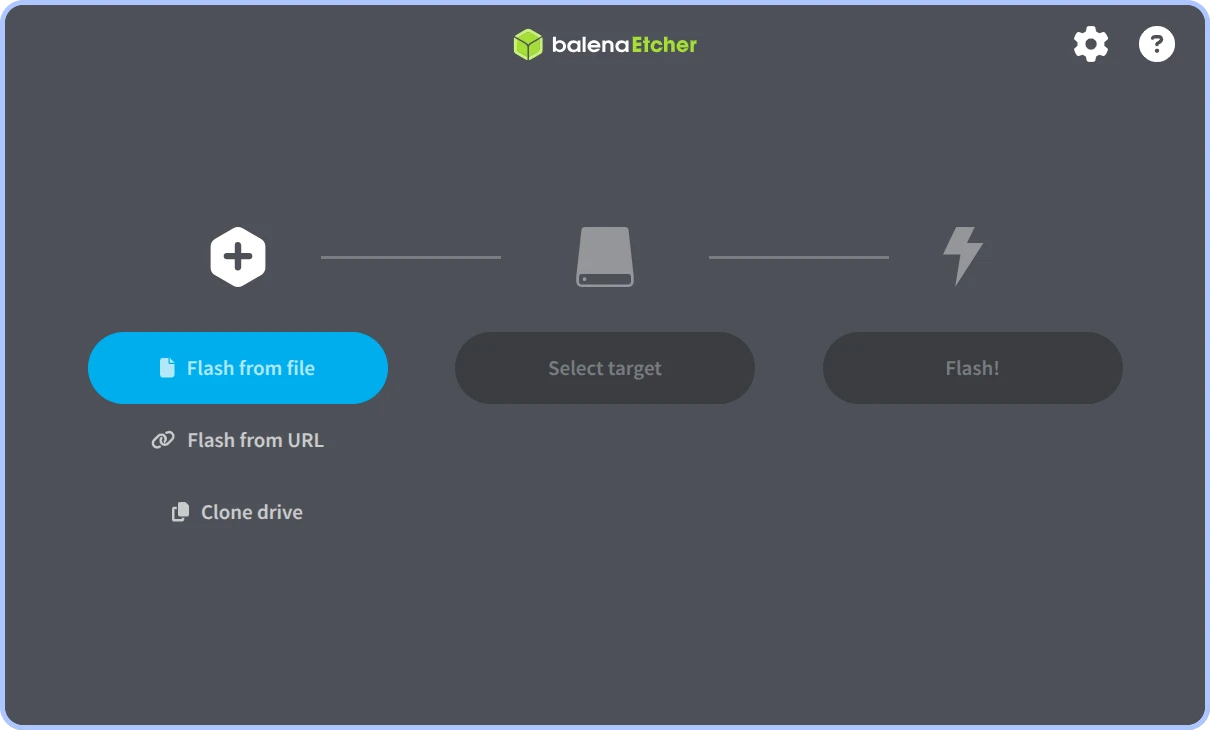
balenaEtcher main window
Select your downloaded image file. Once selected, the file name and size will appear in the window.
Tip
If the image is in a supported archive format, you do not need to extract it manually.
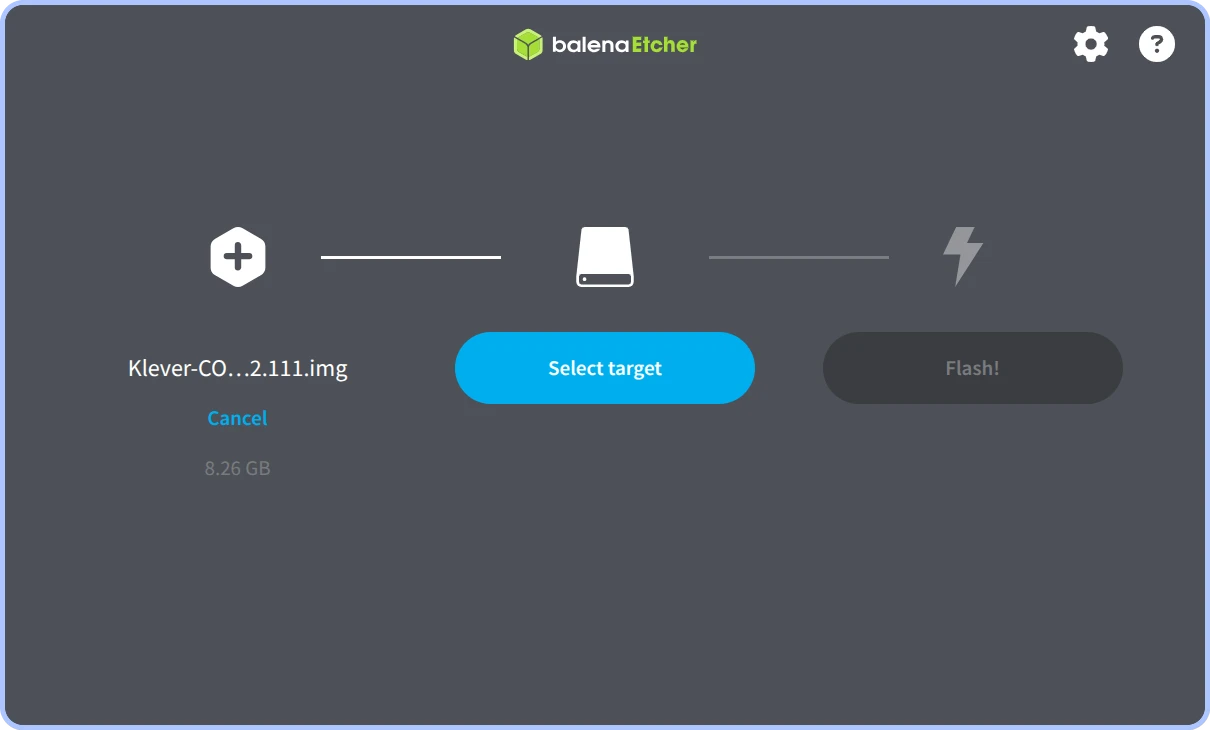
Selected image
Click
Select target. From the list of available drives, choose your microSD card and clickSelect 1. Verify that the drive name and capacity match your memory card.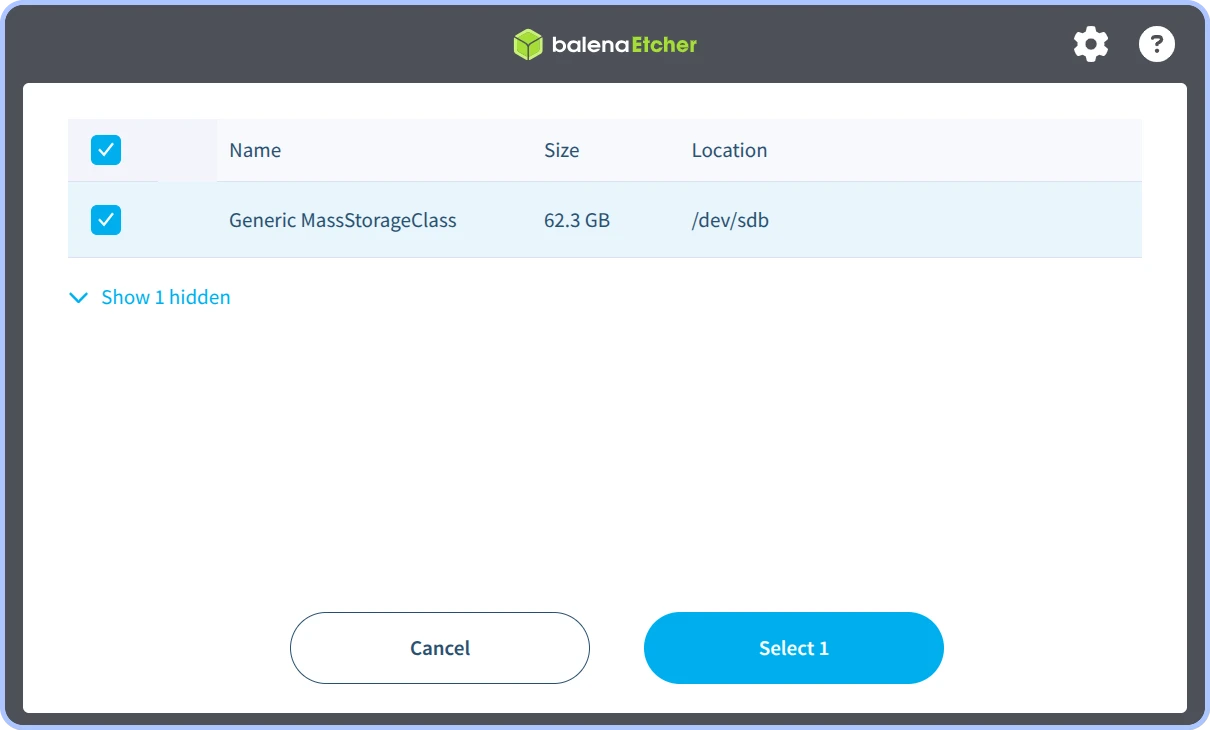
Selecting target drive
Review your selection one last time, then click
Flash!. If prompted by your system, confirm the request for administrator privileges.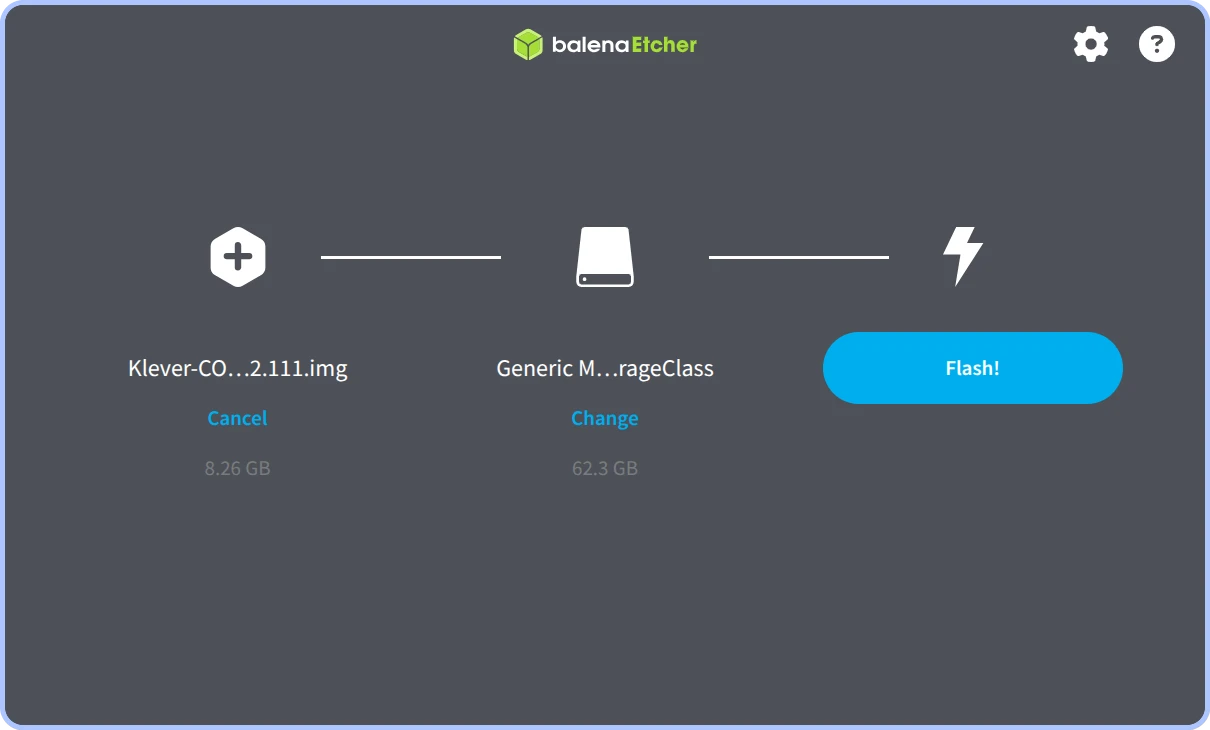
Ready to flash
Wait for the flashing and data verification processes to finish. Do not remove the memory card or disconnect the reader until both steps are fully complete.
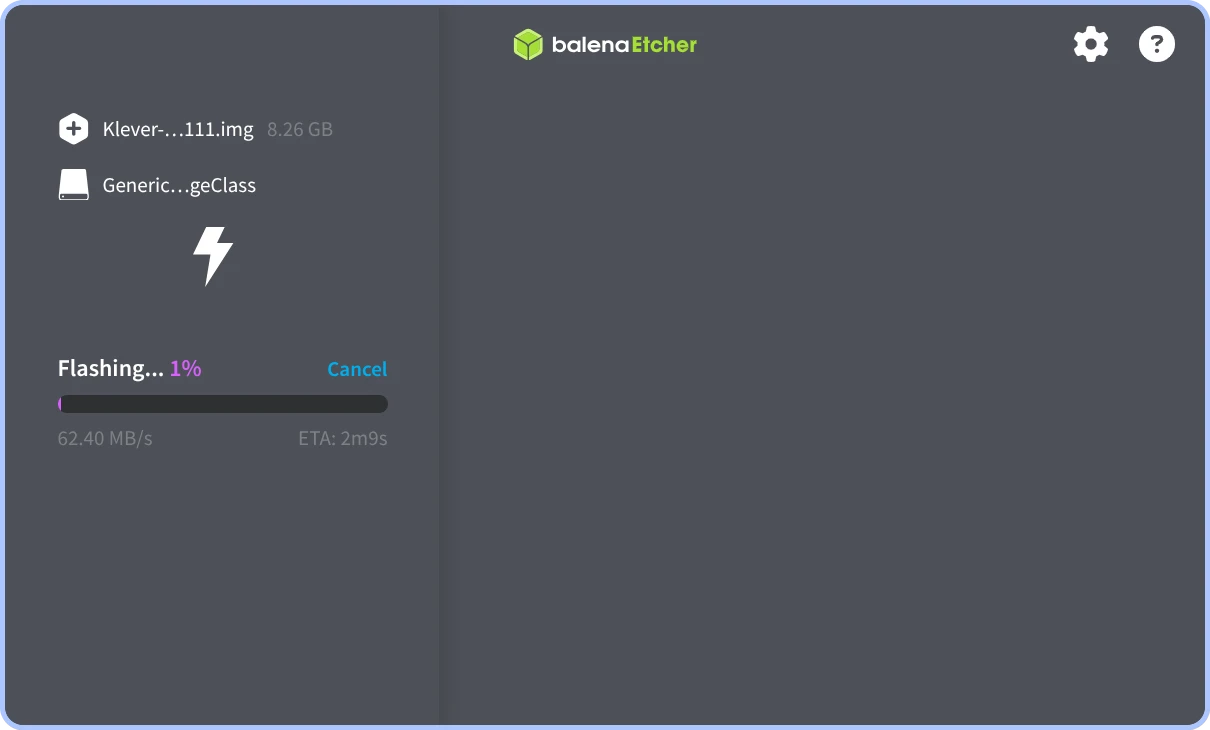
Flashing the card
Once finished, a
Flash Completed!message will appear on the screen.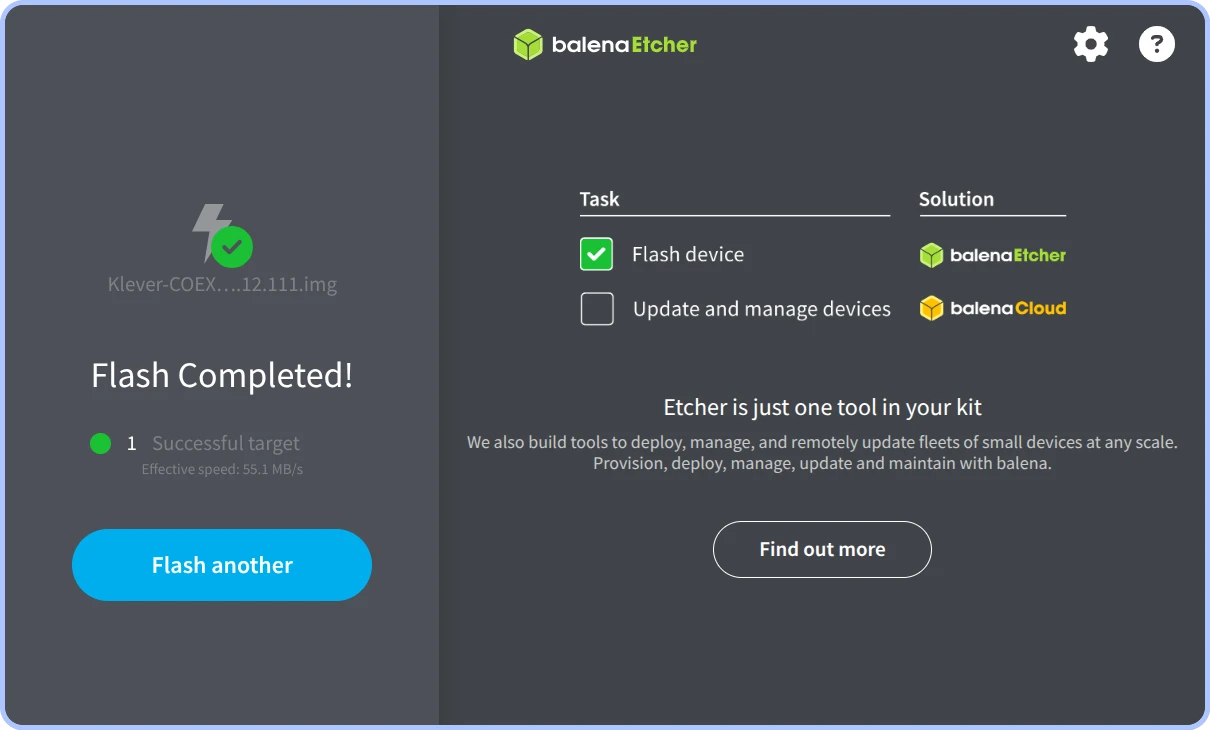
Flash Completed message
Safely eject the memory card from your computer. Ensure your Raspberry Pi is powered off, then insert the memory card into its slot.