Switching to PX4
This guide describes how to replace the Betaflight firmware by PX4 on a MicoAir743v2 flight controller using DFU mode.
Caution
This guide applies only to the MicoAir743v2 flight controller. A full memory clearance will delete the installed Betaflight firmware and its settings. Before you proceed, make sure you have selected the correct controller and firmware file.

MicoAir743v2 flight controller
Required Software and Files
Prepare the following before proceeding:
QGroundControl — app used to build PX4 firmware and configure your flight controller.
STM32CubeProgrammer — utility required to clear the controller memory and flash new firmware.
PX4 firmware for MicoAir743v2 (
.px4format) — to be installed via QGroundControl.PX4 bootloader for MicoAir743v2 (
.binformat) — to be written via STM32CubeProgrammer prior to firmware installation.
Ensure STM32CubeProgrammer and QGroundControl are fully installed before flashing the device.
How to Write the PX4 Bootloader
Press and hold the
BOOTbutton on the controller. While continuing to hold theBOOTbutton, connect the controller to your computer via USB.Open STM32CubeProgrammer and select the connection interface.
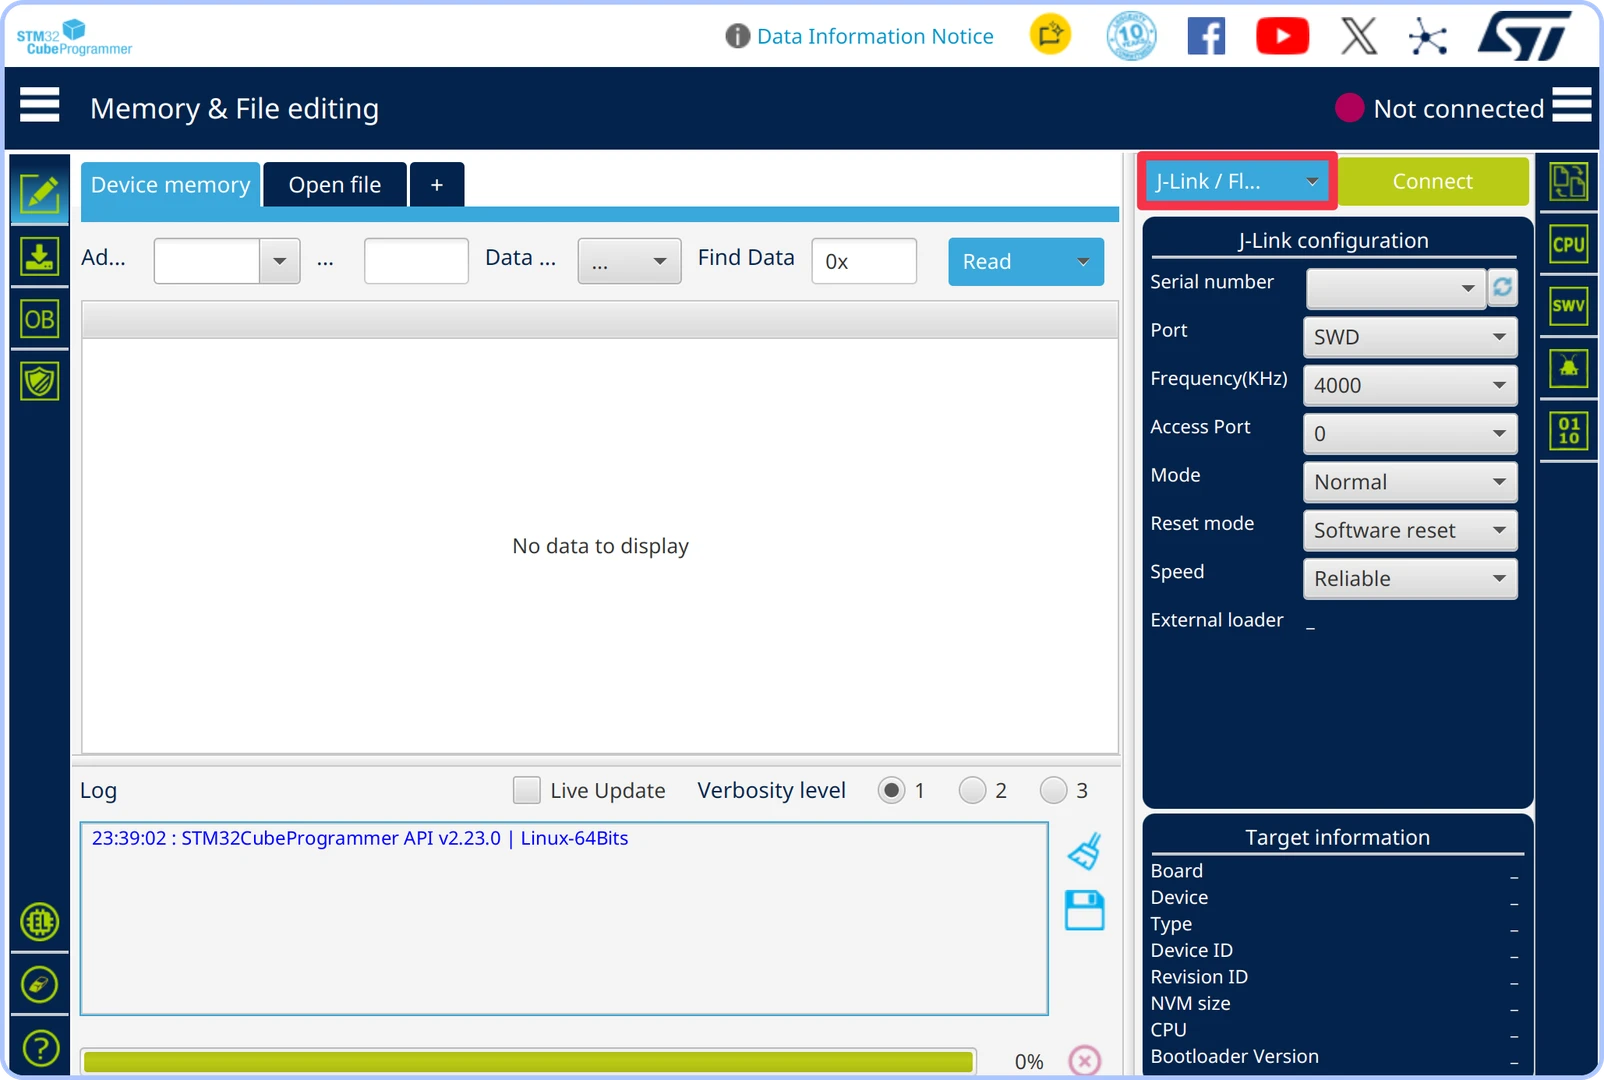
Selecting connection interface
Select the
USBinterface.
USB interface selected
Click the Refresh button located to the right of the
Portlist. STM32CubeProgrammer should detect the controller in DFU mode. If the port is not detected, reconnect the controller while continuing to hold theBOOTbutton.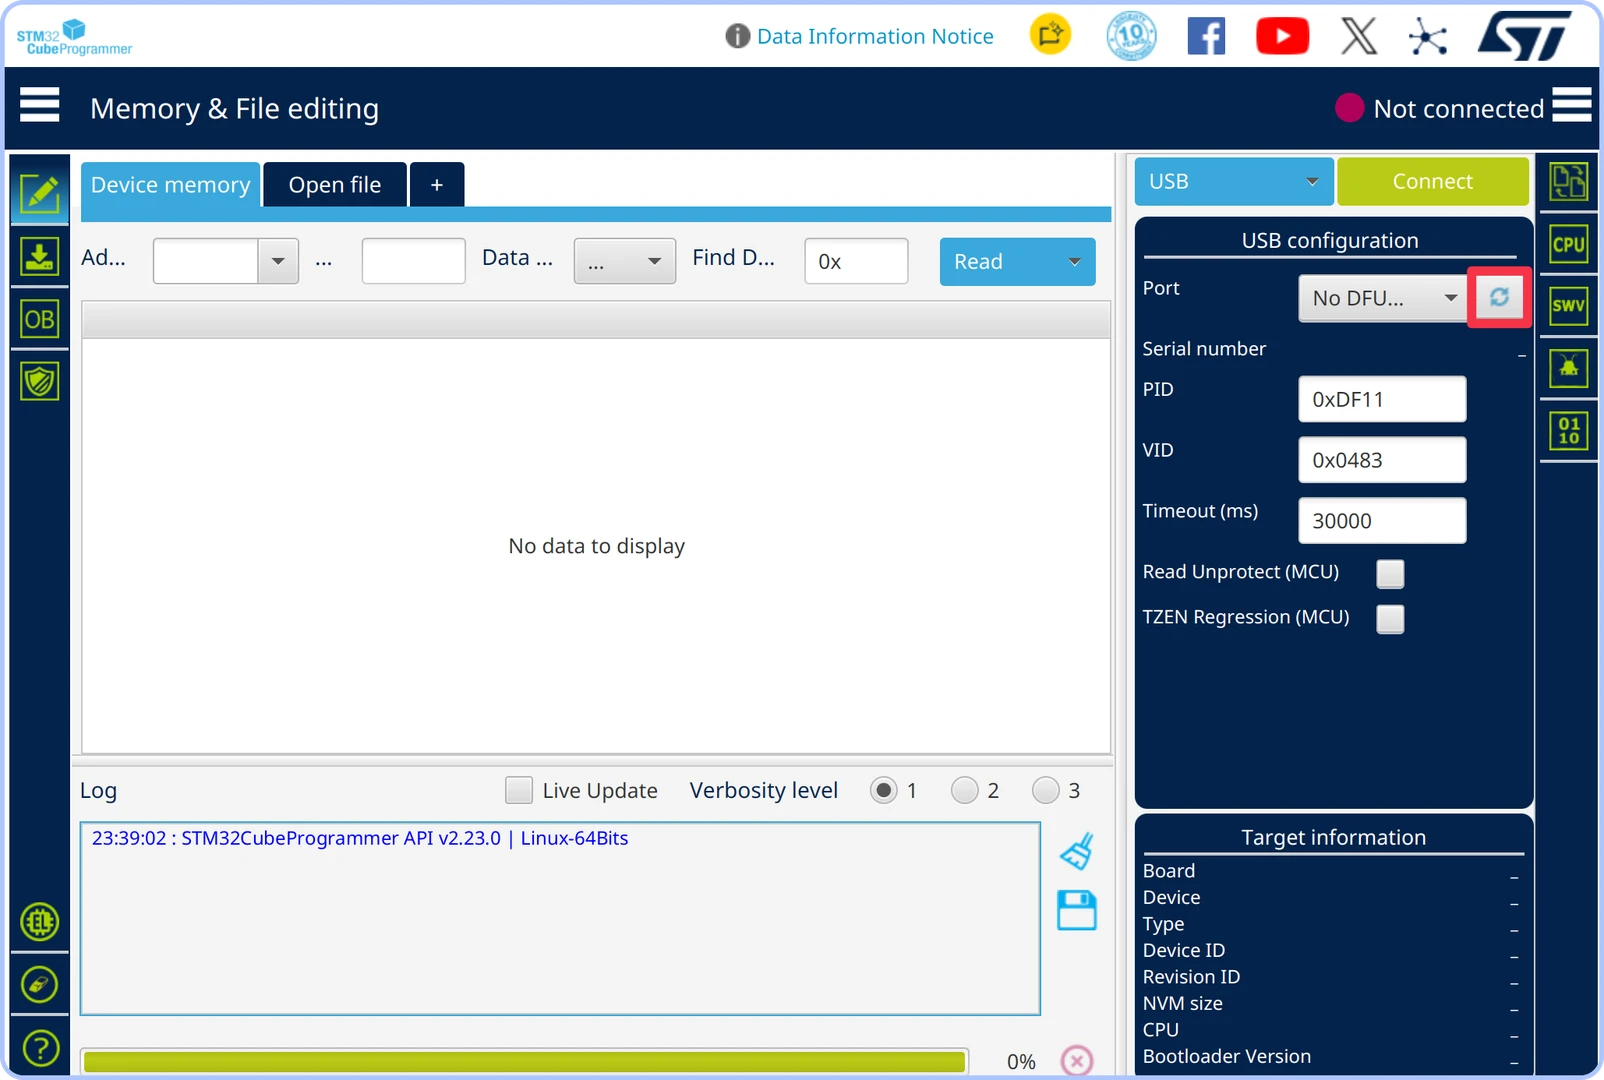
Refreshing DFU device
Click
Connectto establish a link with the controller.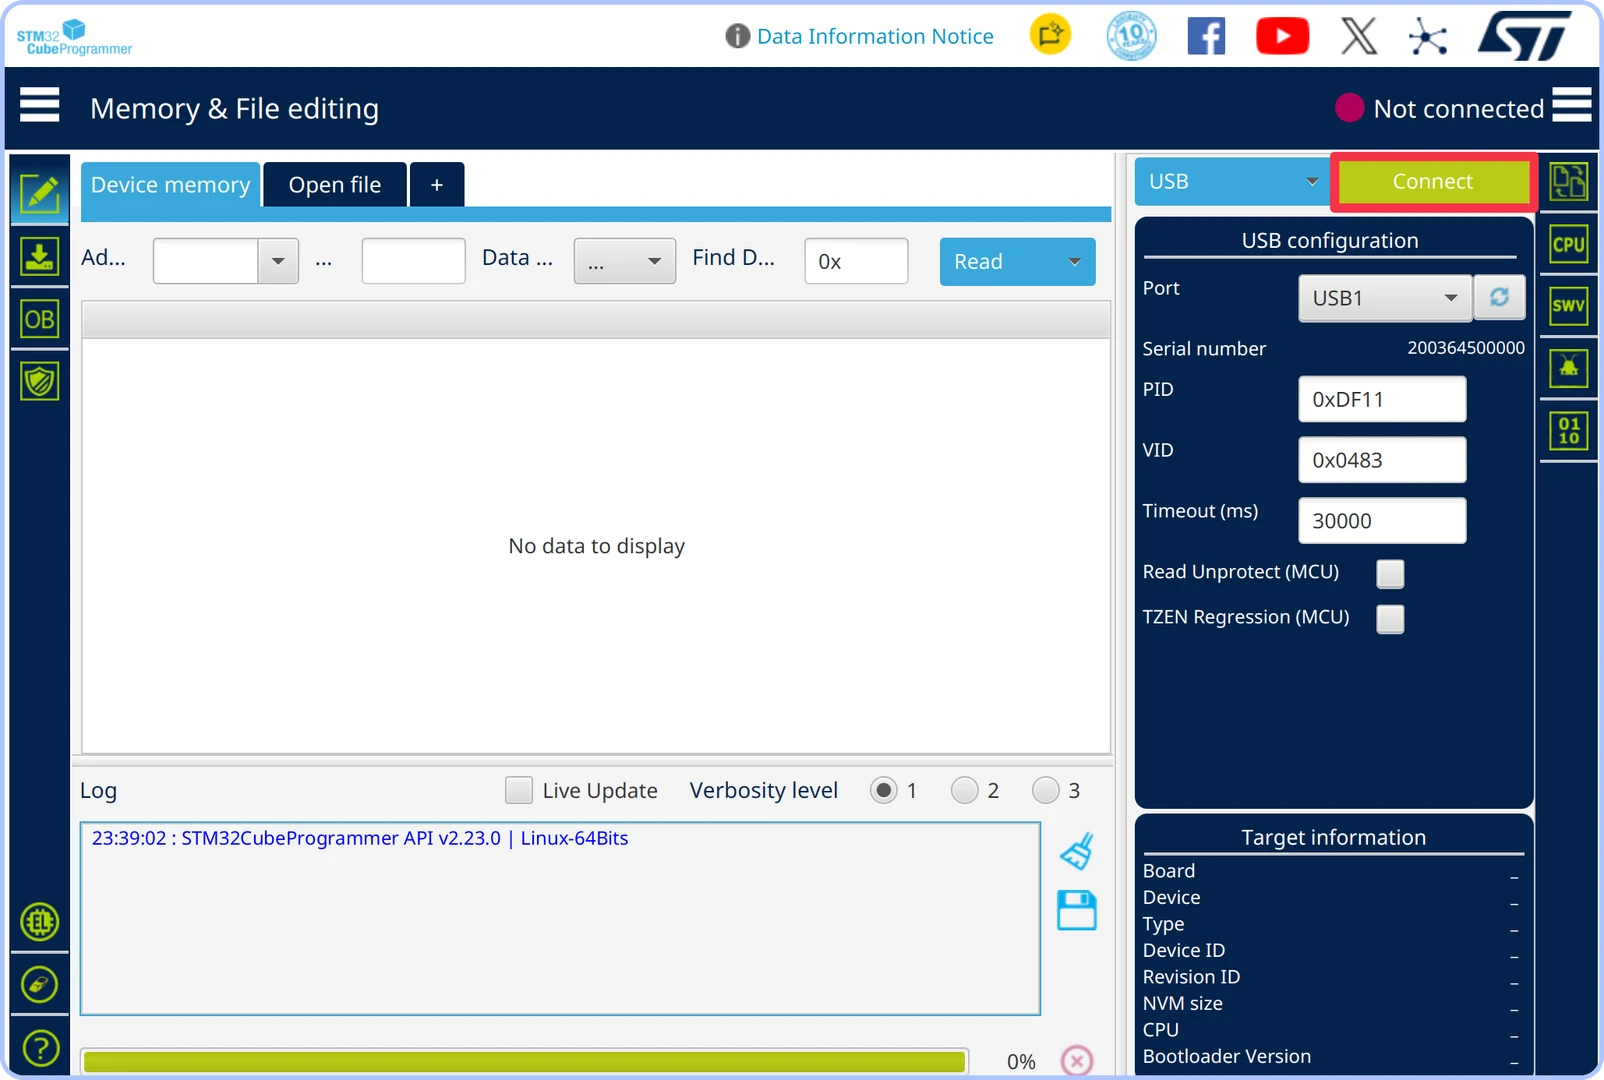
Connecting DFU device
Perform a full memory erase: click the
Erasericon in the lower-left corner of the window, confirm the action in the pop-up, and wait for the process to finish.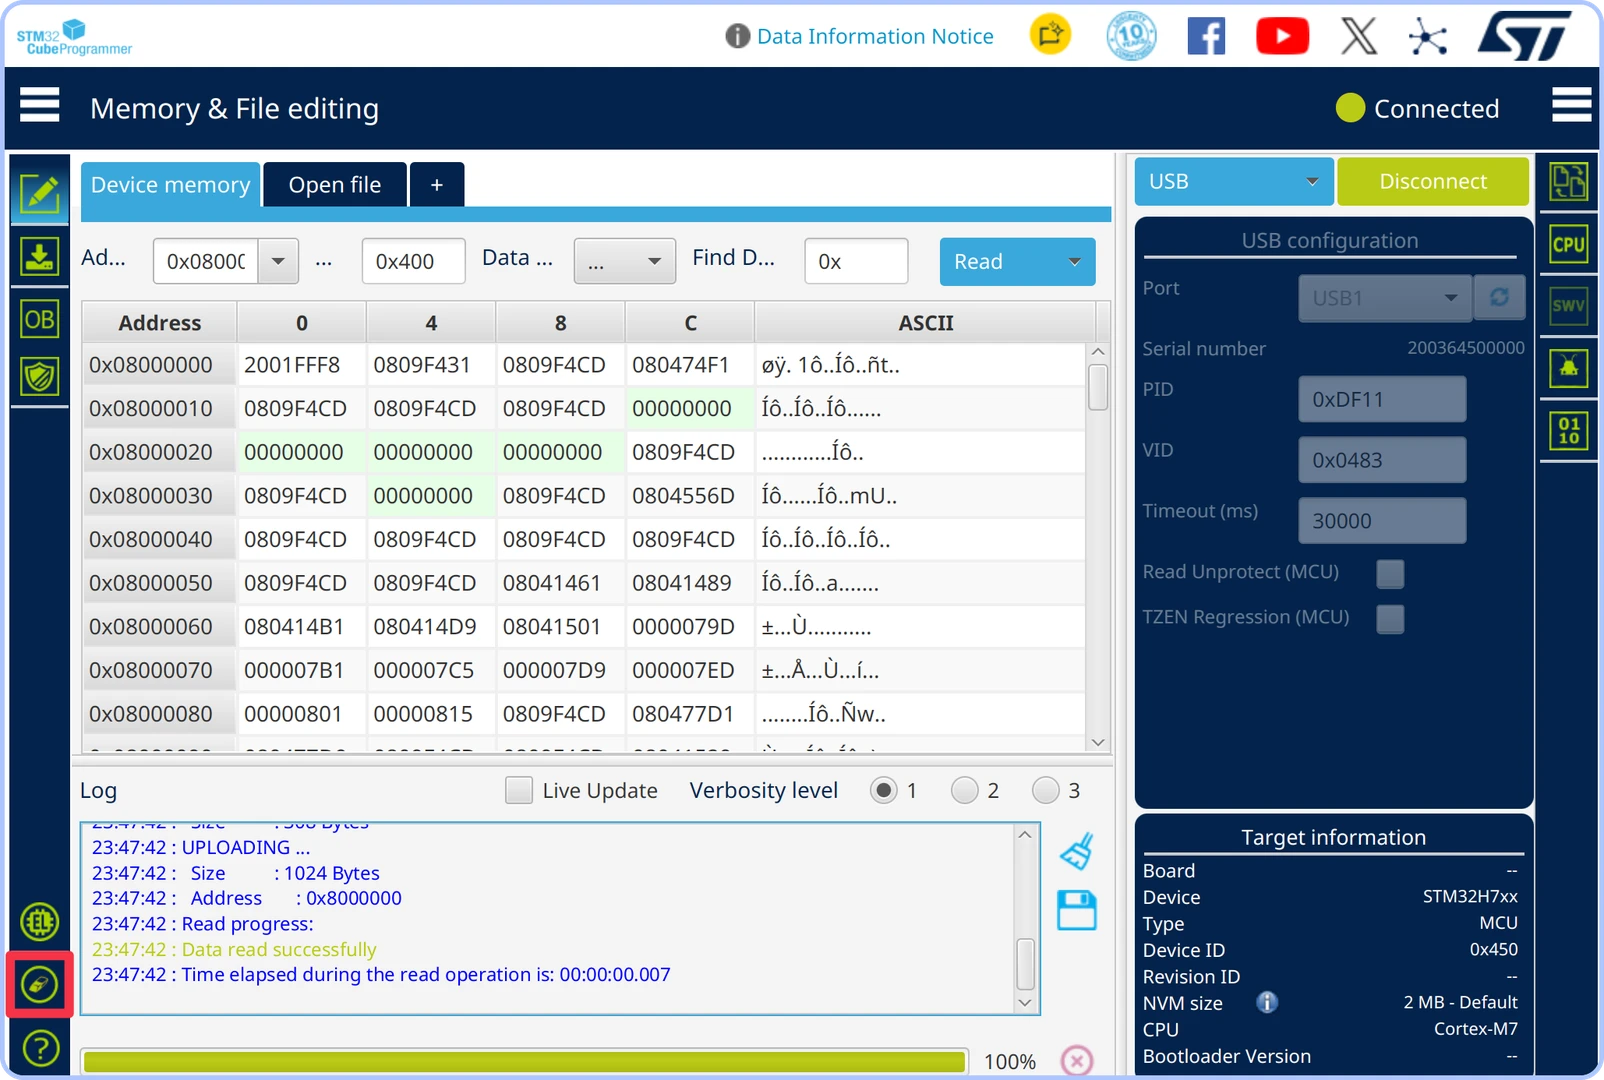
Full erase
Click
Open fileand select the downloadedmicoair_h743-v2_bootloader.binfile.
Opening bootloader file
Click
Downloadand wait for the writing process to complete.
Writing PX4 bootloader
Once the writing is successful, click
Disconnect.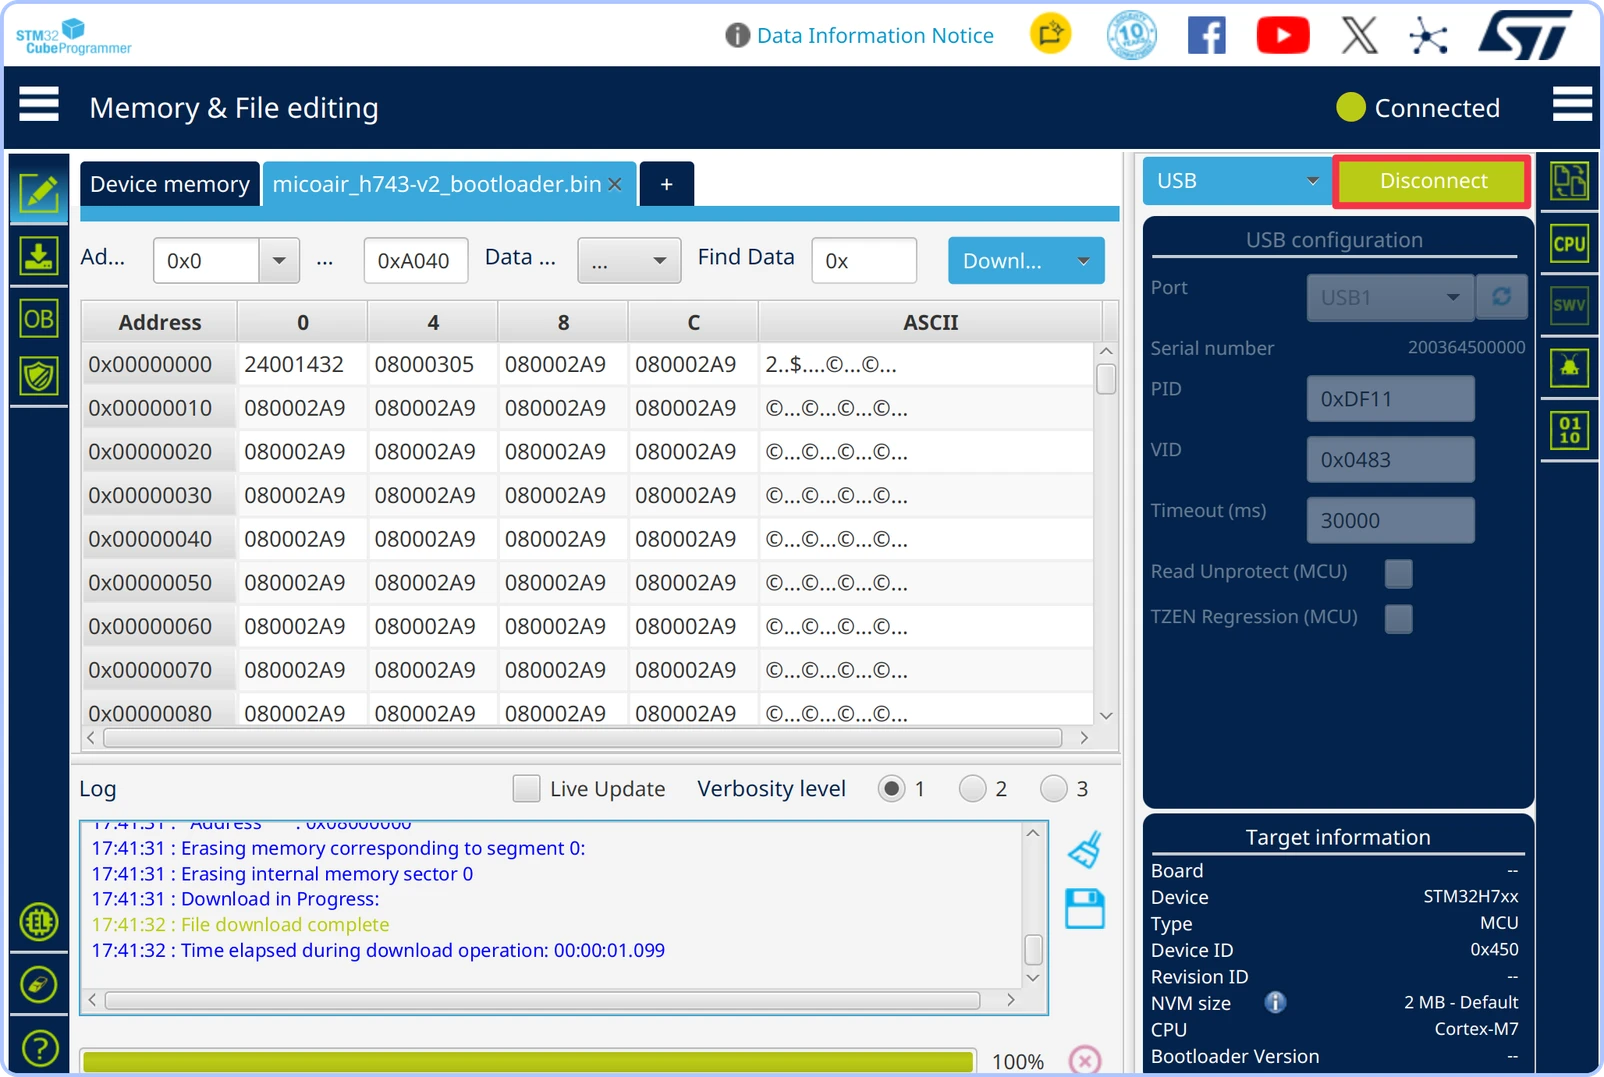
Controller disconnected
Close STM32CubeProgrammer and disconnect the controller from your computer.
How to Install the PX4 Firmware
Open QGroundControl.
Connect the flight controller to your computer via USB (do not press the
BOOTbutton this time).Click the QGroundControl logo located in the upper-left corner.
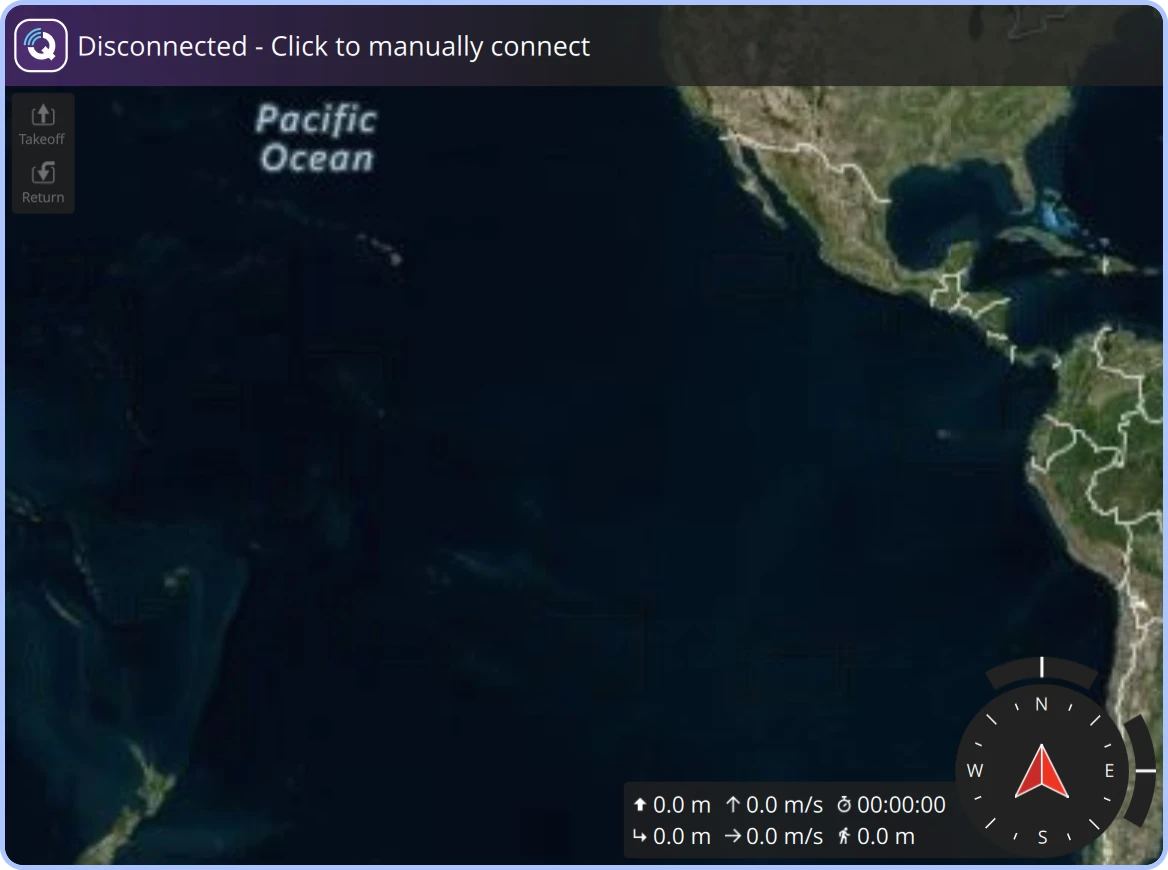
QGroundControl main menu
Select
Configurefrom the drop-down menu to open theVehicle Configurationpanel.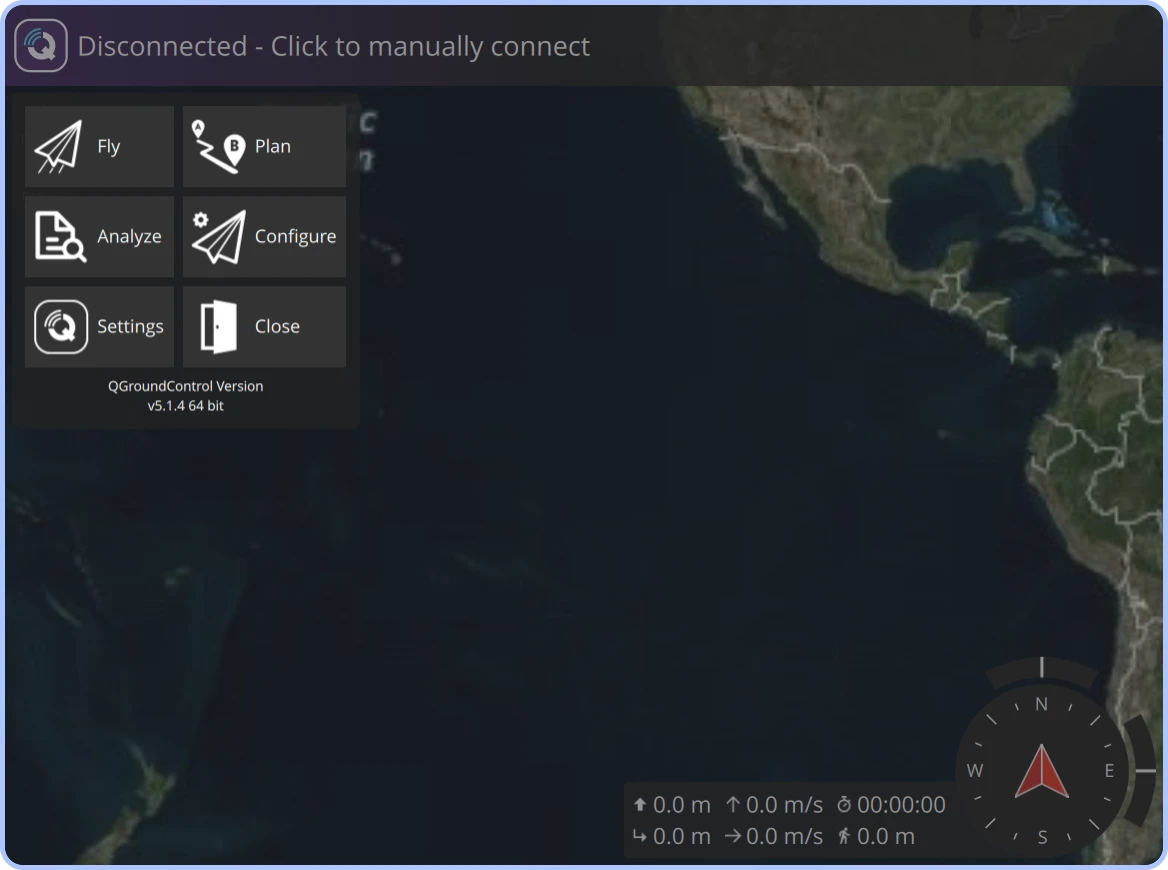
Configure in QGroundControl
Select the
Firmwaresection.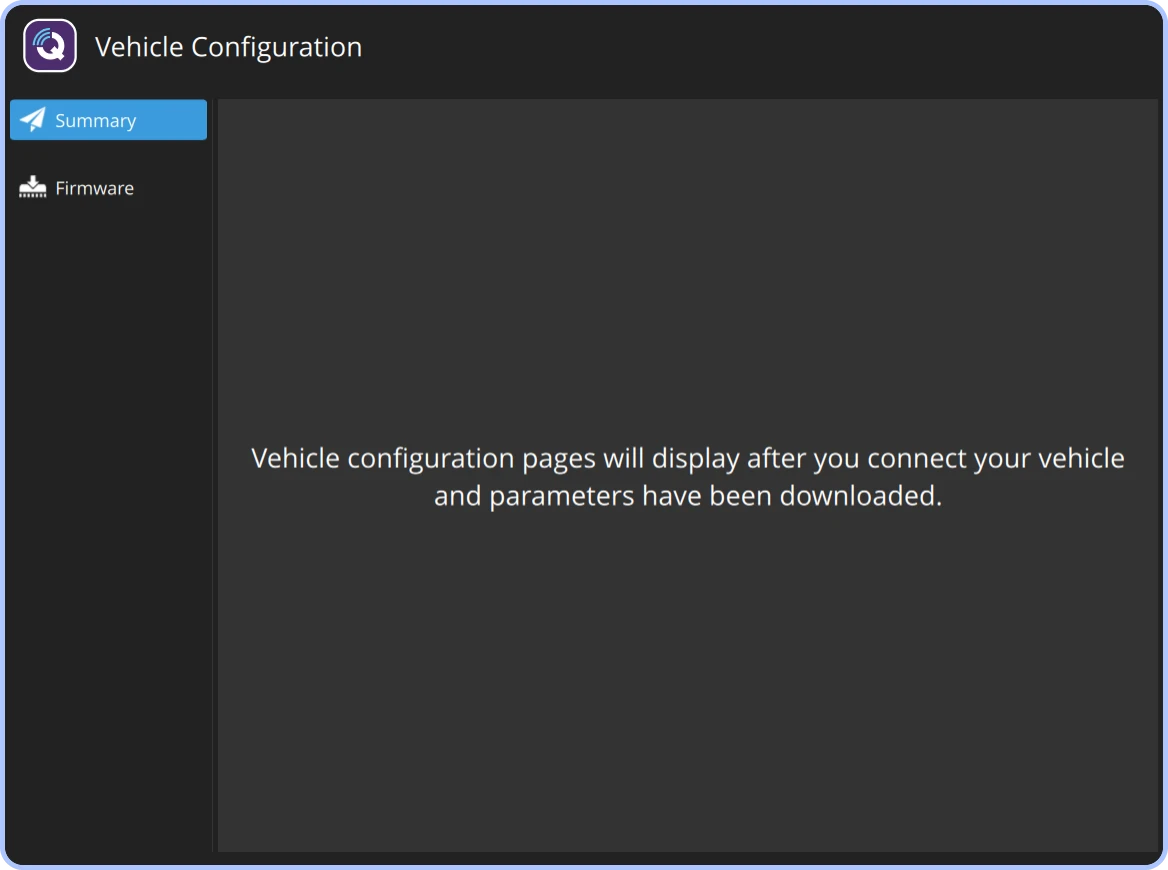
Opening Firmware menu
Select your controller from the port list and click
Flash.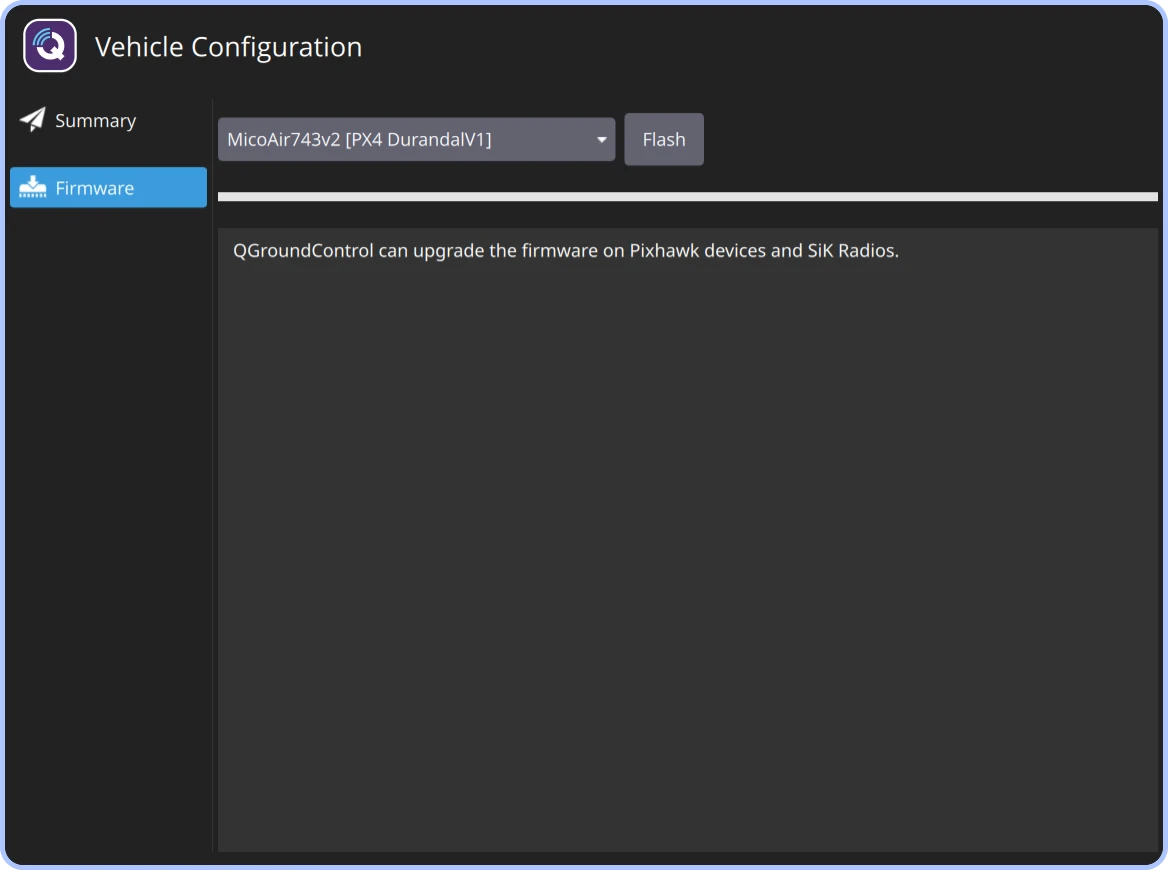
Selecting controller
If QGroundControl prompts you to reconnect the controller, follow the on-screen instructions (remember: do not press the
BOOTbutton).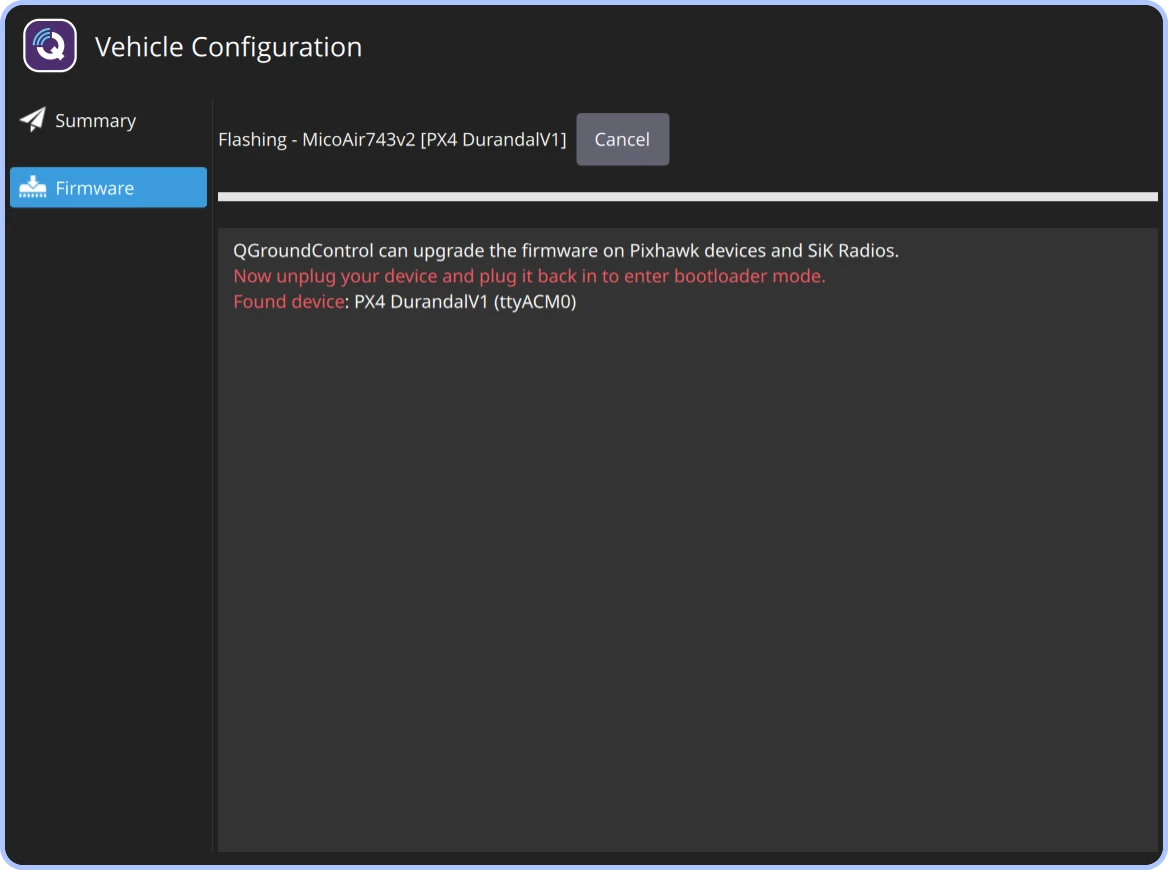
Reconnecting controller
In the
Firmware Setupwindow, enableAdvanced settings, selectCustom firmware file...and clickOK. Locate and select themicoair_h743-v2_default.px4file.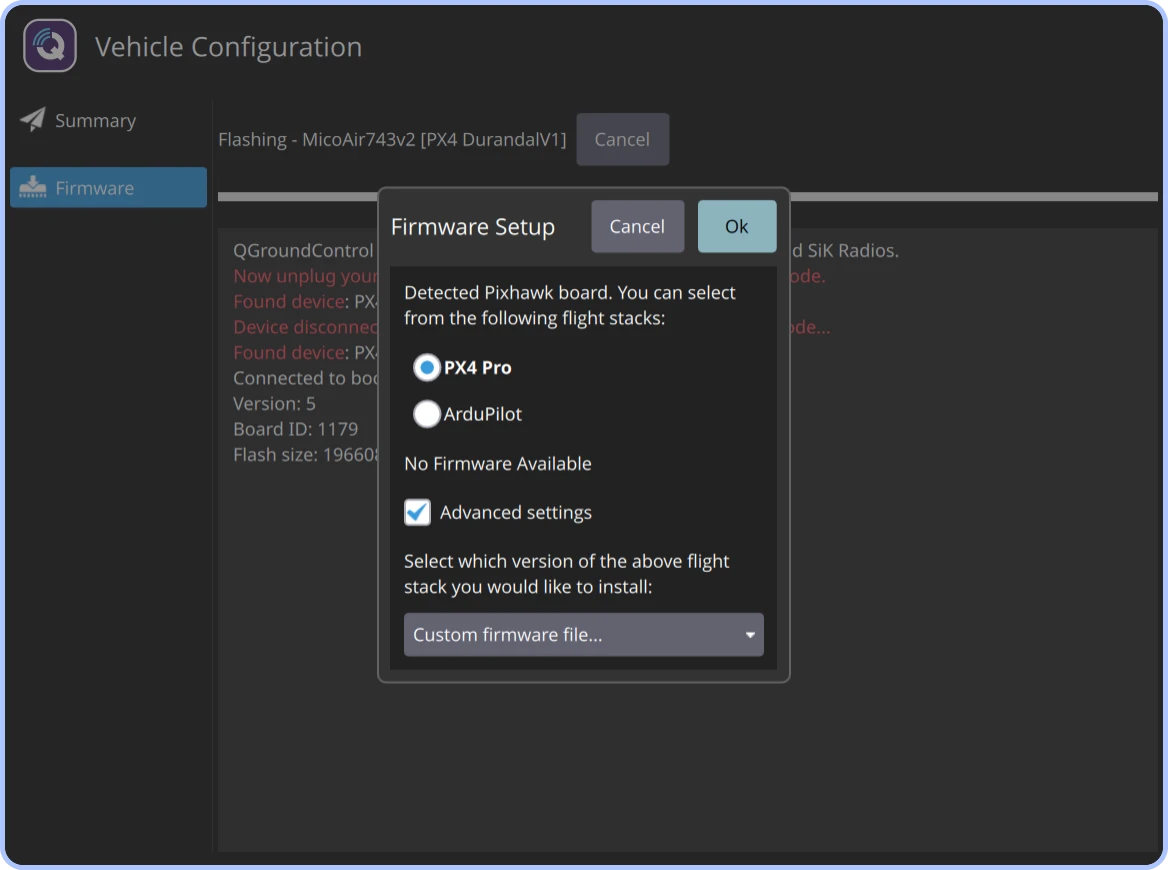
Selecting firmware from file
Wait for the firmware writing process to complete.
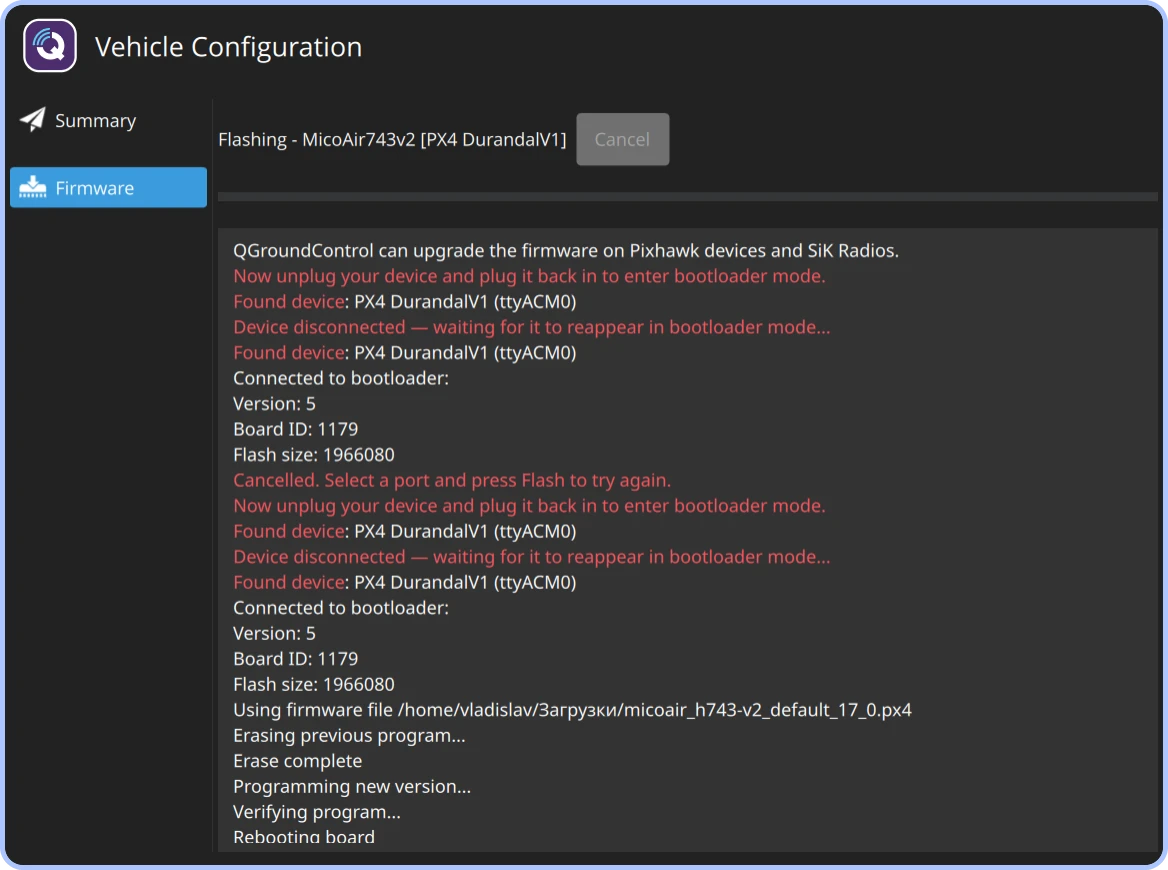
Uploading PX4
Next Steps: proceed to configuring the flight controller.
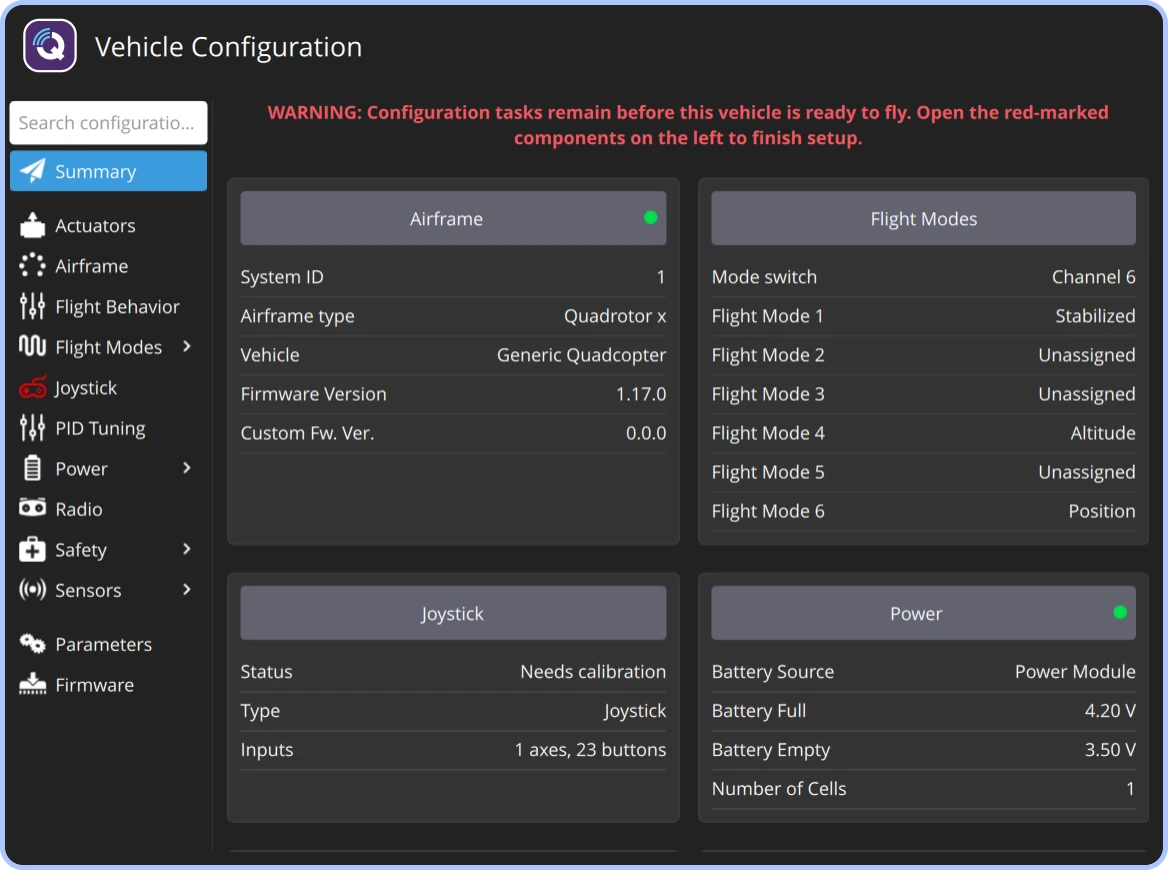
Flight controller with PX4 installed